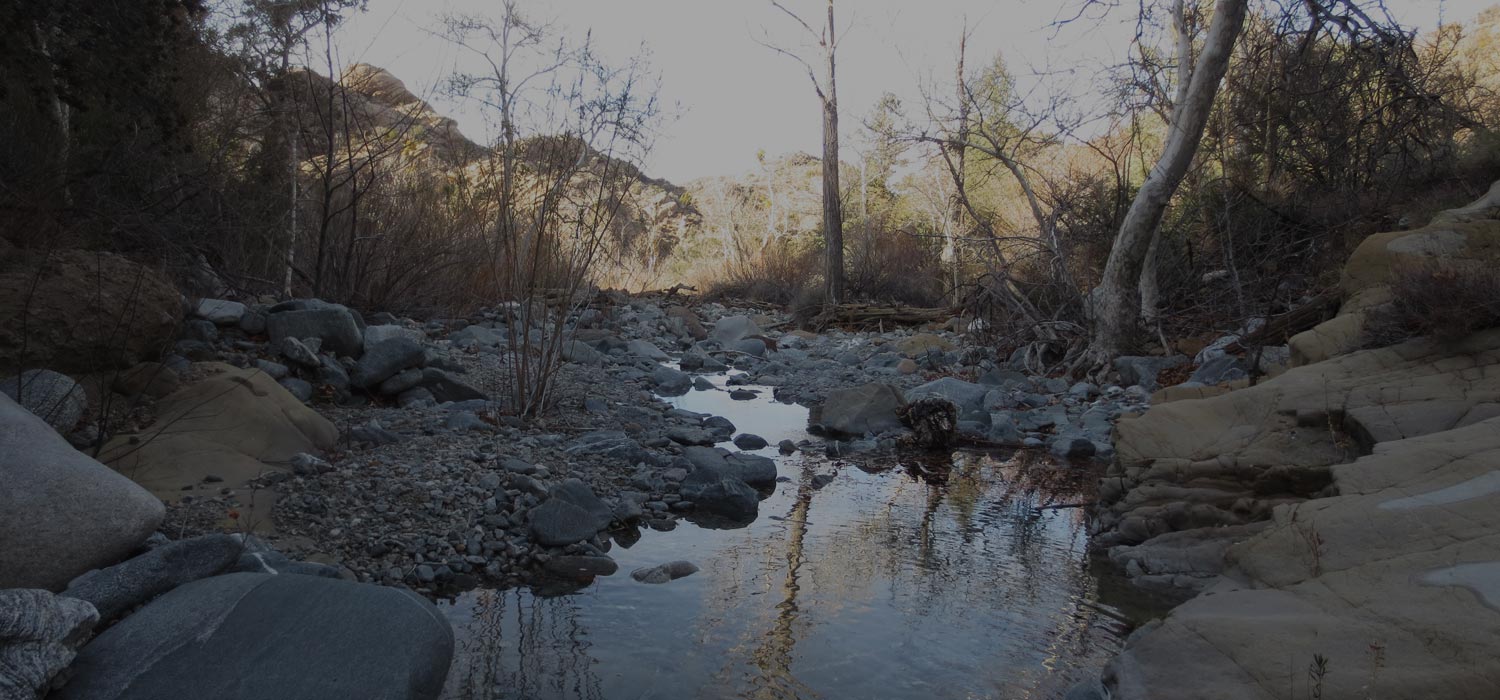
Lower Holcomb Canyon Hike
Summary for Lower Holcomb Canyon Hike

Difficulty
Moderate Adventure Hike – Read Adventure Hiking Page
Length
3.5 Miles Round Trip
time
3 Hours
Elevation Gain
500′
Summary
Beautiful and solitary canyon featuring lovely perennial stream, old growth maples, & sandstone formations
Holcomb Canyon drops steeply from the North face of 8214′ Mt Williamson and along the edge of the spectacular Devil’s Punchbowl formation before converging with Big Rock Creek. This hike enters the canyon from that confluence and travels off trail along it’s tranquil yet highly scenic lower segment, ending at the defined High Desert National Recreation Trail (HDNRT) where it drops into the canyon. This hike can be made a loop through a car shuttle and the use of the HDNRT going either East or West, or can be extended East or West along the HDNRT as desired.
Directions to Trailhead for Lower Holcomb Canyon Hike

Here are text instructions as well since this is an adventure hike and there is no defined trailhead:
In the town of Pearblossom turn South from Pearblossom Highway onto Longview Road. Take this only 1/2 mile to Avenue W and then turn left (East). Eventually Ave W becomes Valermo Road. After approximately 7 miles you will cross a bridge over Big Rock Creek and just after come to a fork in the road, at which you will keep straight on big Rock Creek Road along the creek (Big Pines Road continues left). After about another 3/4 mile you will see a side canyon tributary to the right – this first canyon is NOT Holcomb Canyon but Punchbowl Canyon, another great hike which is covered elsewhere. Continue another 1/3 mile after which around a bend the road starts going more Easterly. You should very shortly (1/10 mile) be able to detect the side canyon walls marking the entrance to Holcomb Canyon across Big Rock Creek to the right (South). There is a dirt parking area to the left across the road. Park here and display your adventure pass. Note that the GPS map below also shows you the location of the entrance to the canyon and the parking area. Now follow the detailed hike directions below.
Detailed Description for Lower Holcomb Canyon Hike
Note that there is no trail, and thus no sign indicating the entrance to Lower Holcomb Canyon. Once you are at the confluence, go down the embankment next to road and ford Big Rock Creek at one of the several rock piles crossing the creek which serve as dams created by local fishermen. As you can see in the map above, the mouth of Holcomb is broad, so try to stay in one of the two main stream beds into Holcomb, one on the far right and one on the far left – as indicated in the GPS track above, I took one way in and another out at the mouth.The canyon soon narrows so as long as you stay within the cliffs on either side you will have no problem. There may or may not be any water running on the surface here depending on the season, but there is almost always flowing water once you get back a half mile or so. It seems brushy at the mouth, but if you stay in one of the rocky stream beds it’s not bad, and once you are in 200 yards or so the canyon opens up and there is very little brush.

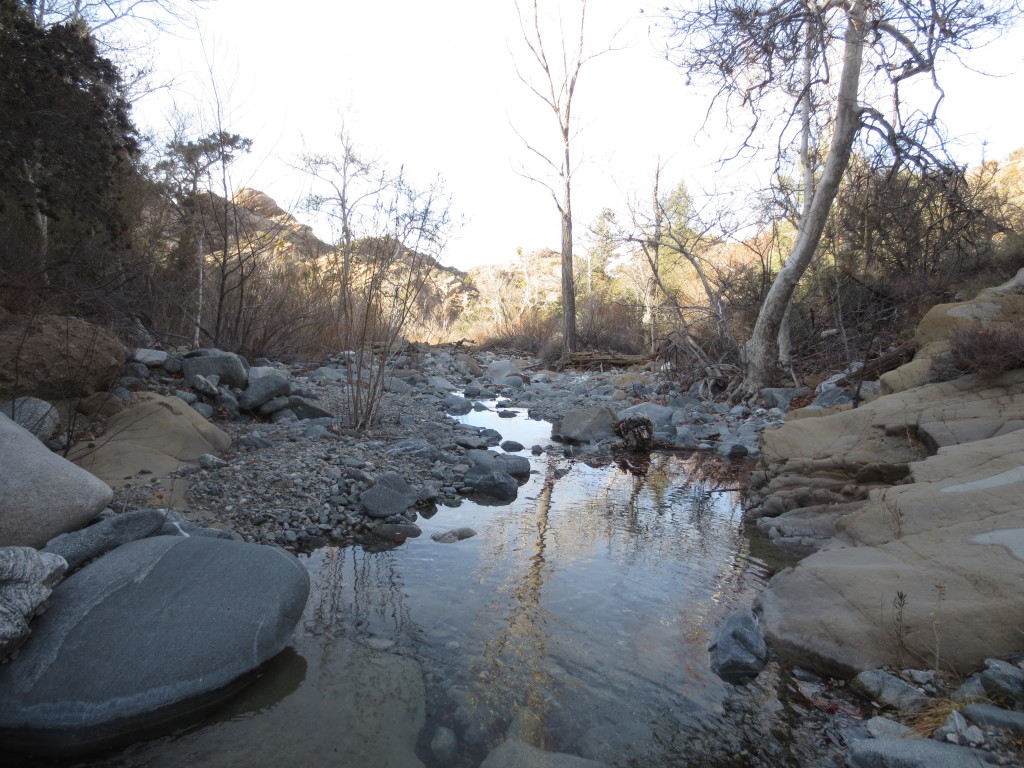
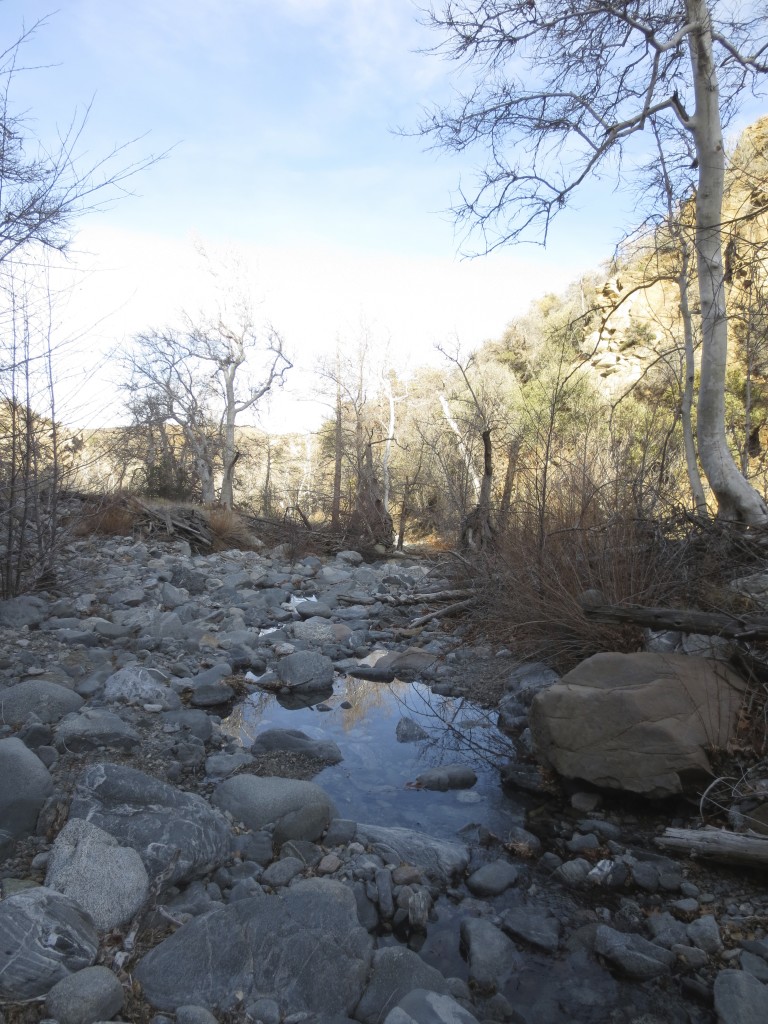
Once you are obviously in Lower Holcomb Canyon, now simply create your own trail by boulder hopping up stream. You can see in the photos the type of terrain that is representative of the majority of the hike. It’s actually quite pleasant if you’re into boulder hopping, as the rocks are fair sized and solid, and as mentioned there is very little bush whacking required.
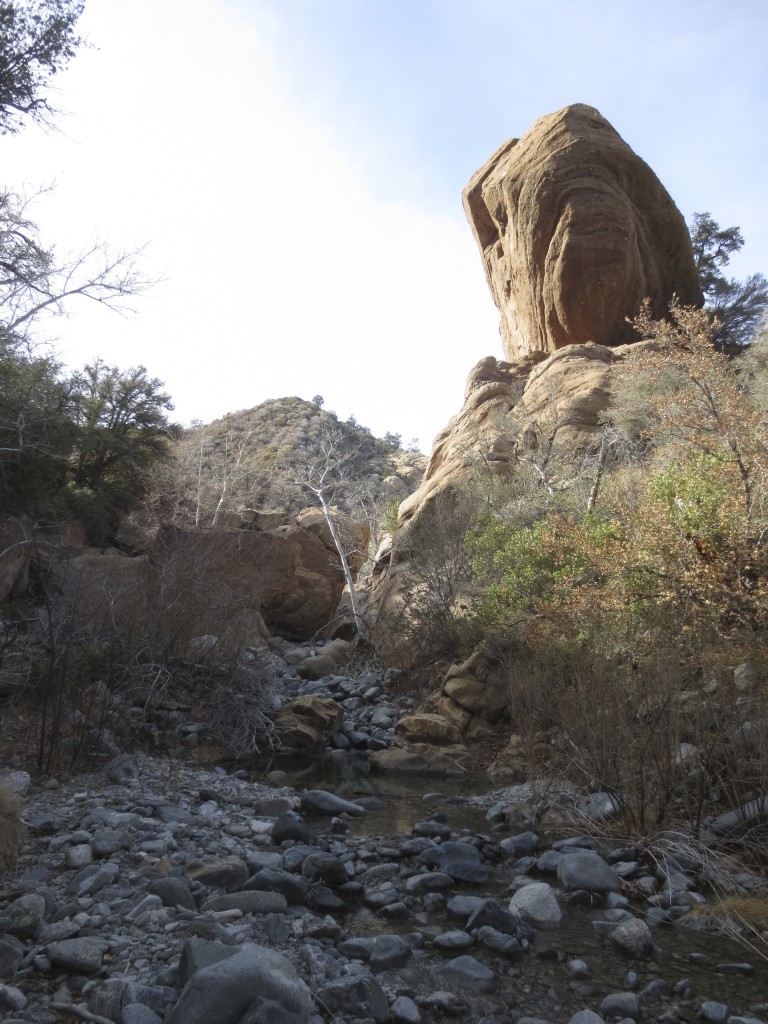
The only significant obstacle comes about halfway in (about 1 mile) at the spot noted with an icon on the GPS map above, in the form of a small waterfall in a minor gorge created by the hard sandstone formation at this point, shown in the photo to the right. Depending on the flow of water it may be possible to carefully climb it, but there is an easy way around on the left side in back of the large boulders near the white tree in the center of the photo, which is about 100 feet before the waterfall.
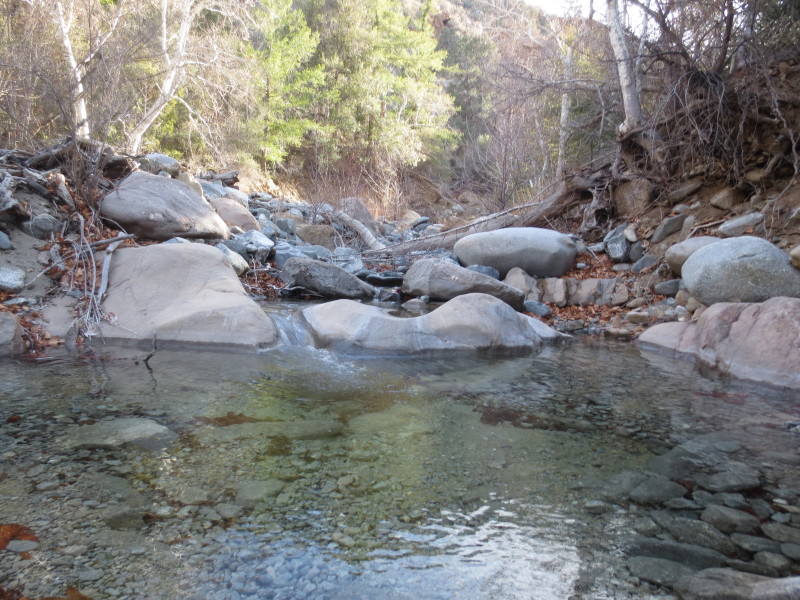
The hike continues along through the beautiful maples interspersed with the occasional pine, as you stay in the obvious main stream bed and keep moving upstream. This is a truly magical little canyon where you will experience a great sense of tranquility and solitude.
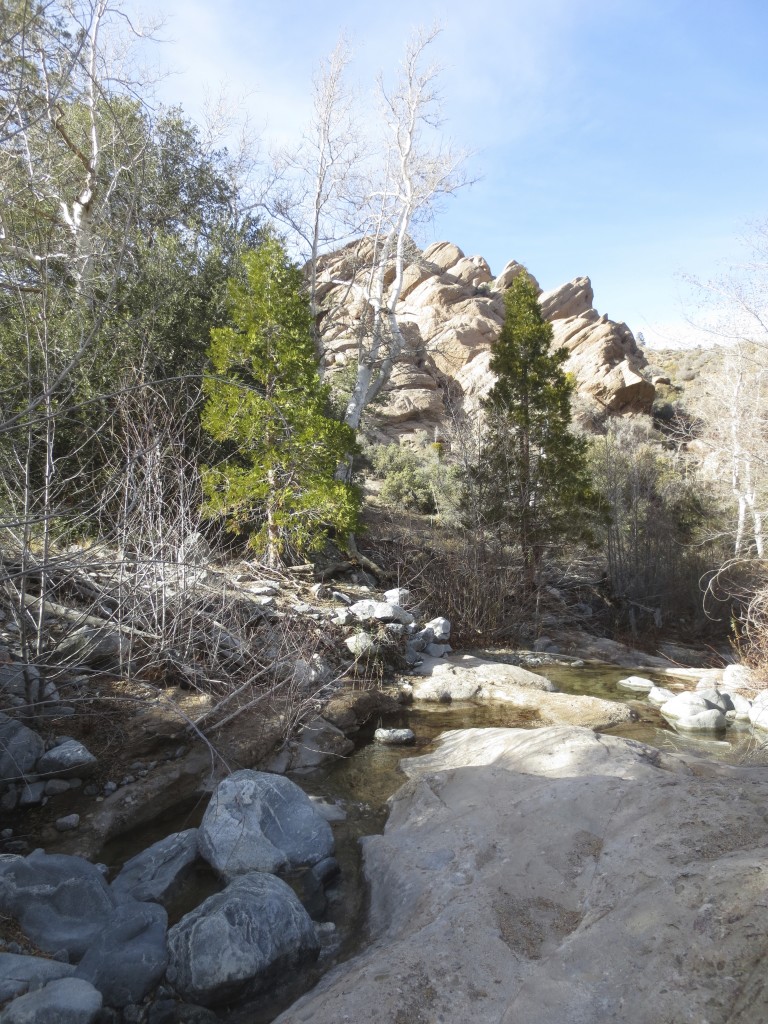
After about 1.5 miles you will encounter some sculpted sandstone with some small pools and slides. Now you are close to the HDNRT as it crosses the stream. The HDNRT is at about 1.75 miles, and is only obvious at one or the other side of the canyon, as it tends to disappear as it crosses the wide stream bed, but it is a well used trail so when you see it you will know. This is close to the series of slides and pools so it is a good place to stop, eat lunch, and get wet. If you still have energy at this point a good trip is to go up the HDNRT to the West which climbs to the Devil’s Chair about 1 mile away offering a spectacular view overlooking the Devil’s Punchbowl geologic formation, covered in a separate hike.
Note that in the hike in the GPS track above I continued past the trail and up the canyon. The terrain becomes more difficult and is really a different type of hike which will be covered fully in an Upper Holcomb Canyon hike on a future post. But you can also continue up canyon to extend the hike as well if you’re feeling adventurous.
If you are doing a loop option you take the HDNRT east which goes to the South Fork Big Rock Creek trail head about 1 mile away, or to the West on the HDNRT which will take you to the Devil’s Punchbowl parking lot, about 4 miles away. Otherwise, travel back the way you came to your car.
Video of Lower Holcomb Canyon
A representative section of Lower Holcomb Canyon in January 2014. Note that this was an exceptionally dry year, yet the crystalline mountain water was still flowing nicely here.
